Restoring my Childhood Family Computer: Part 2

In Part 1 I inspected the motherboard and found what appears to be damage from a battery acid leak.
Before I turn on my old Macintosh I want to take a look at its power supply in case anything is obviously wrong with it. Step 1 was to remove the case which was attached with T15 screws (step 0 was going and buying a T15 screwdriver).
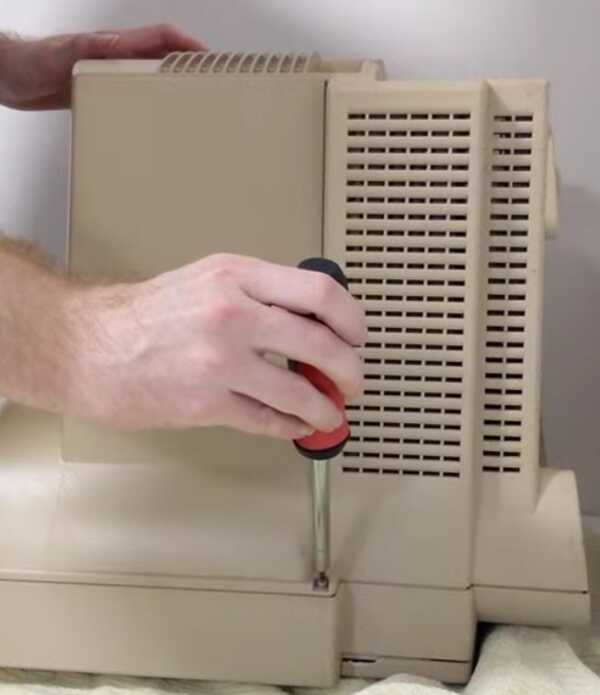
The plastic was quite brittle and unfortunately one of the screw housings snapped while I attempted to remove its screw. Also the screw on the bottom of the case had a plastic shielding around it which made it hard to reach. I recommend buying as thin of a T15 screwdriver as you can find if you attempt this! Mine was too thick as it’s the kind of screwdriver with a bunch of different removable heads. I ended up improvising and jamming a wad of paper in between the end of the screwdriver body and the T15 head to extend its reach which let me remove the screw.
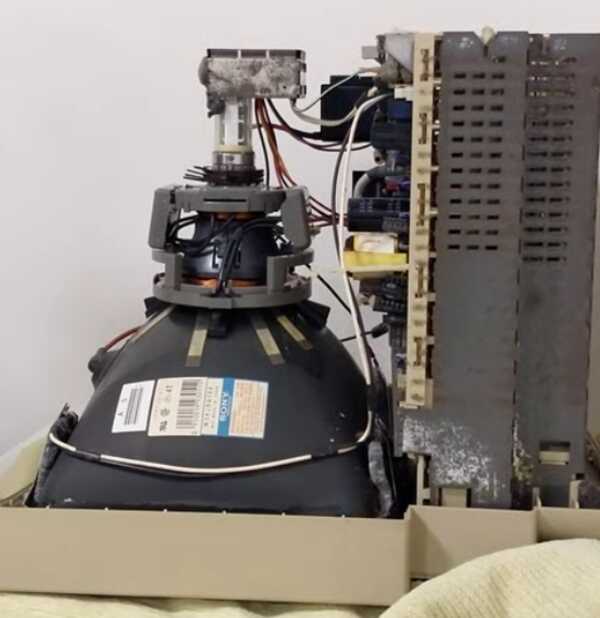
Here’s how it looks without its case. It’s a scary-looking high-voltage circuit with giant capacitors, a glass tube which I assume houses the electron gun, and giant coils of wire which I assume are electromagnets that aim the electron beam.
The next part made me nervous. CRT monitors can build up a large static charge over the course of their life and they can hold onto this charge for decades, even when switched off and unplugged. Before poking around near the CRT I needed to make sure this charge was removed. I watched a lot of videos of people doing this before attempting it myself (and you should too - don’t just copy what you read here!). The process was to attach an alligator clip between a rubber-handled screwdriver and the case chassis, then poking the tip of the screwdriver under the rubber suction cap and touching it against the wire underneath. For extra safety I had one hand in my pocket the entire time so I wouldn’t accidentally close a high-voltage circuit between my two hands.
If the CRT had been charged there would have been a loud pop as it discharged into the chassis, but I heard no such pop. It’s possible that the decade or so of disuse was long enough for it to fully discharge. Also apparently some Macs from this era had “bleeder resistors” which allowed the CRT to discharge safely. I’m certain I did the discharge procedure correctly so I assumed from this point on there was no part of this circuit that was dangerous to touch.
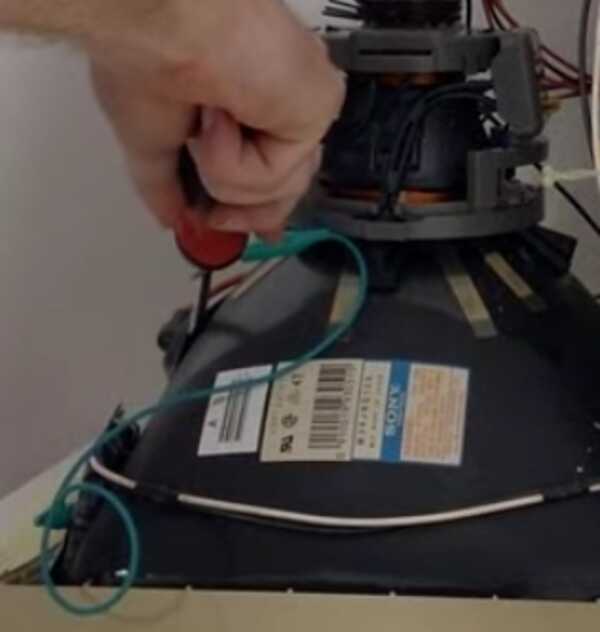
(I set up a stand for my phone and recorded a video of removing the case and attempting to discharge the CRT just in case there was a cool spark or something.)
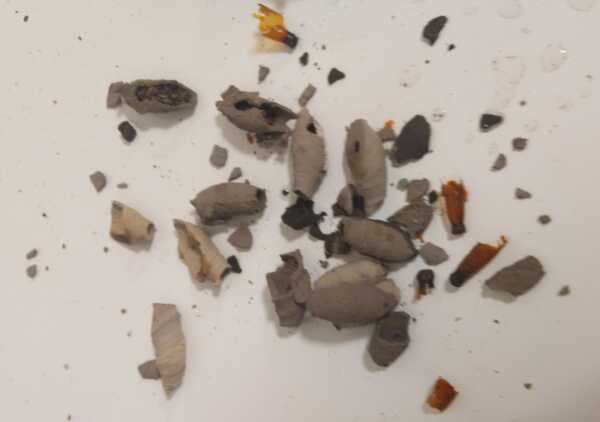
I couldn’t see anything obviously wrong with the power supply circuit. I was mostly looking for bulging or burst capacitors or burn marks. What I did find an uncomfortable amount of though were wasp nests:
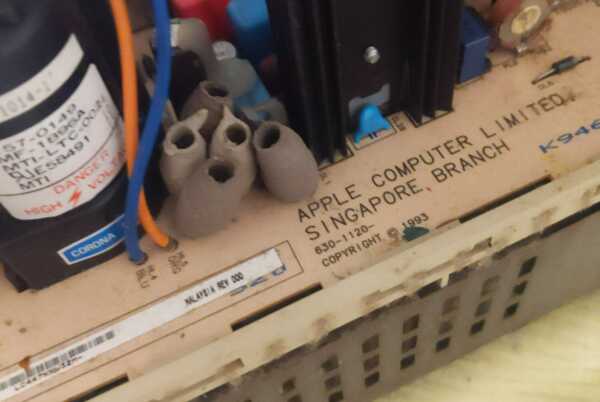
The area I grew up had a large amount of potter wasps that would lay their eggs in these tubular mud nests. Fortunately the wasps were long gone but I still needed to remove all the nests. They are made of mud and are quite delicate, and if one breaks then there’ll be a bunch of dirt that I then have to clean out of the power supply.
In the end I removed 4 clusters of nests and wasp egg shells from the machine. Gross.
I then gave the power supply and CRT a good dusting with some compressed air to remove any dust and erm… wasp mud. Here’s a photo shoot of the internals of the case:
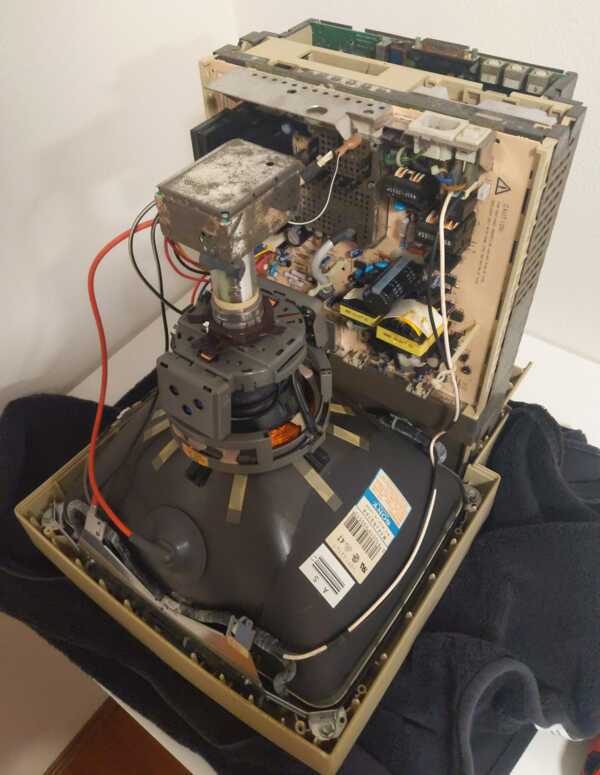
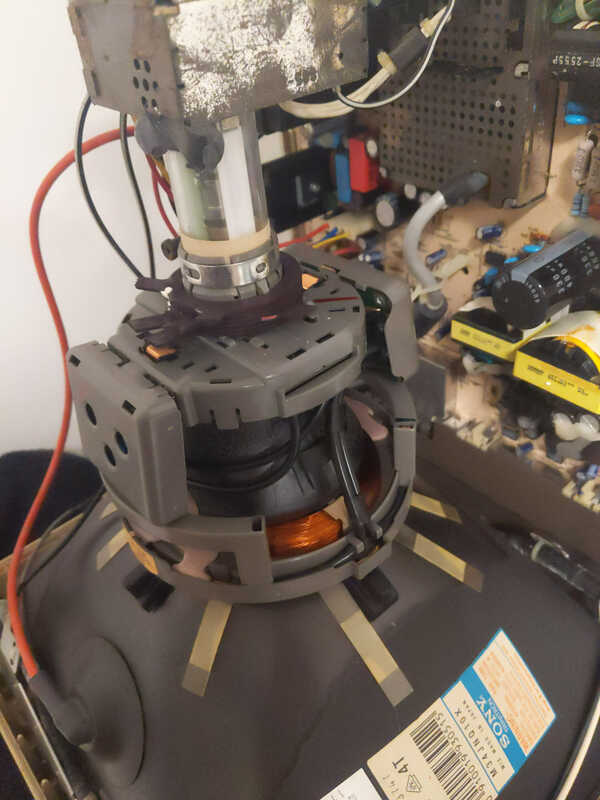

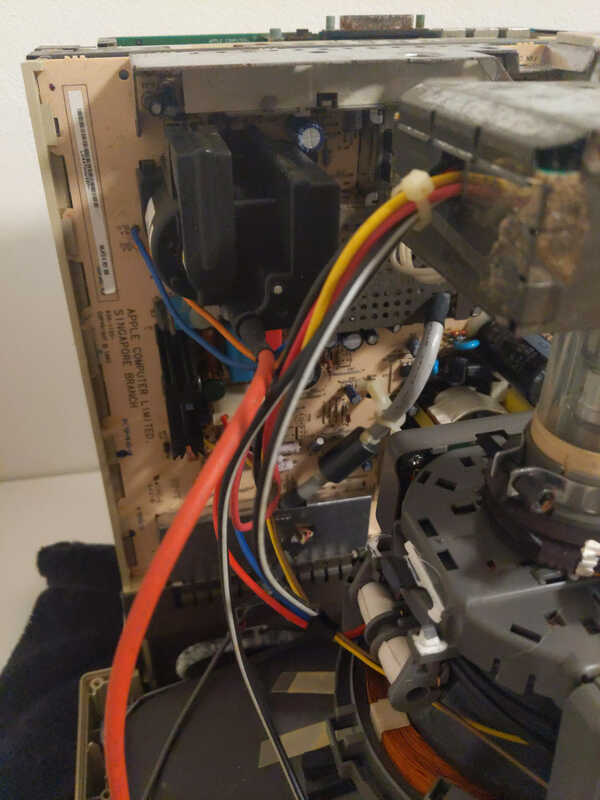
Next step was to power it on and see if anything happens. I was relieved to hear the nowadays somewhat unfamiliar sound of a CRT powering on, and no magic smoke. There was nothing displayed on the screen and I couldn’t feel any static when I put my hand close to the screen. Hopefully that’s just because it’s not receiving any signal yet (I had the motherboard removed for this first test).
Next up I tried adding the motherboard back in just in case its damage is purely cosmetic. I also needed to attach the keyboard because that’s where the power button is for some reason. Alas it did not power on when I pressed it, which honestly is not surprising at all given the state of the motherboard, but I was still a bit disappointed.
I’m betting that the motherboard is the main source of the problem. By which I mean I’ve spent money on a replacement I found on ebay. When it arrives I’ll post again about trying it out.
Part 3 is here.